Notes on lighting Taking Me Over
We recently produced the music video for ‘Taking Me Over’ by 4th Project. Our aim was to produce something atmospheric and cinematic, like a trailer for a (indie) feature film. We wanted to experiment with our visual storytelling and for me, personally, with my cinematography.
I've always been a fan of using available light in my still photography projects. When I started this came out of necessity. But it has since defined my visual style. It fits my film shooting style as well. I have to be mobile, on the move, able to try different things and allow spontaneous moments.
The music video was a collage of lots of short scenes. We didn't have to worry about continuity, so we didn't have to be in full control of the light in most cases. We had a lot to cover in a short amount of time, so a fluid approach suited this project well. We built an image library with reference shots that expressed the right mood or atmosphere and used these in our planning stage. We often consulted these mood boards on the shoot too when we were setting up shots.
Aside from the party scenes and the urban exterior shots, which we got on two separate nights, our main shoot took place over two days - with a different lighting approach on each.
Day one - Less is more

Production designer Oliver Harman stepping in as human light stand
We broke down our treatment into locations and moods to be shot in the interiors of two neighbouring houses. As prep, I used the pictures I took during our recce as a reference and sketched out lighting diagrams for most set-ups. This provided me with a short lighting kit wish list and 180 Rental kindly helped us out by providing everything we needed in addition to what we already had (big thank you). This included: two Kinoflo Celeb 200's, a tungsten Joker Bug with a Softube 5600, a 4x4 scrim and a set of flags. I guess it's time for a disclaimer: I'm not a properly trained or experienced cinematographer. I make things up as I go along and had many 'firsts' on this project, but that was also the point of doing it.

Suffice to say that some things worked, some things didn't. Where things didn't work was when I used too many lights and scenes looked lit, which was not what we wanted. After reviewing the footage for this day I felt that I’d forced myself to work in a way that went against my instinct and natural way of doing things. I wanted to push myself to light more, but as one of the cinematographers that I read about once said: it's as much about taking lights out than bringing lights in.
Lighting the bedroom scene

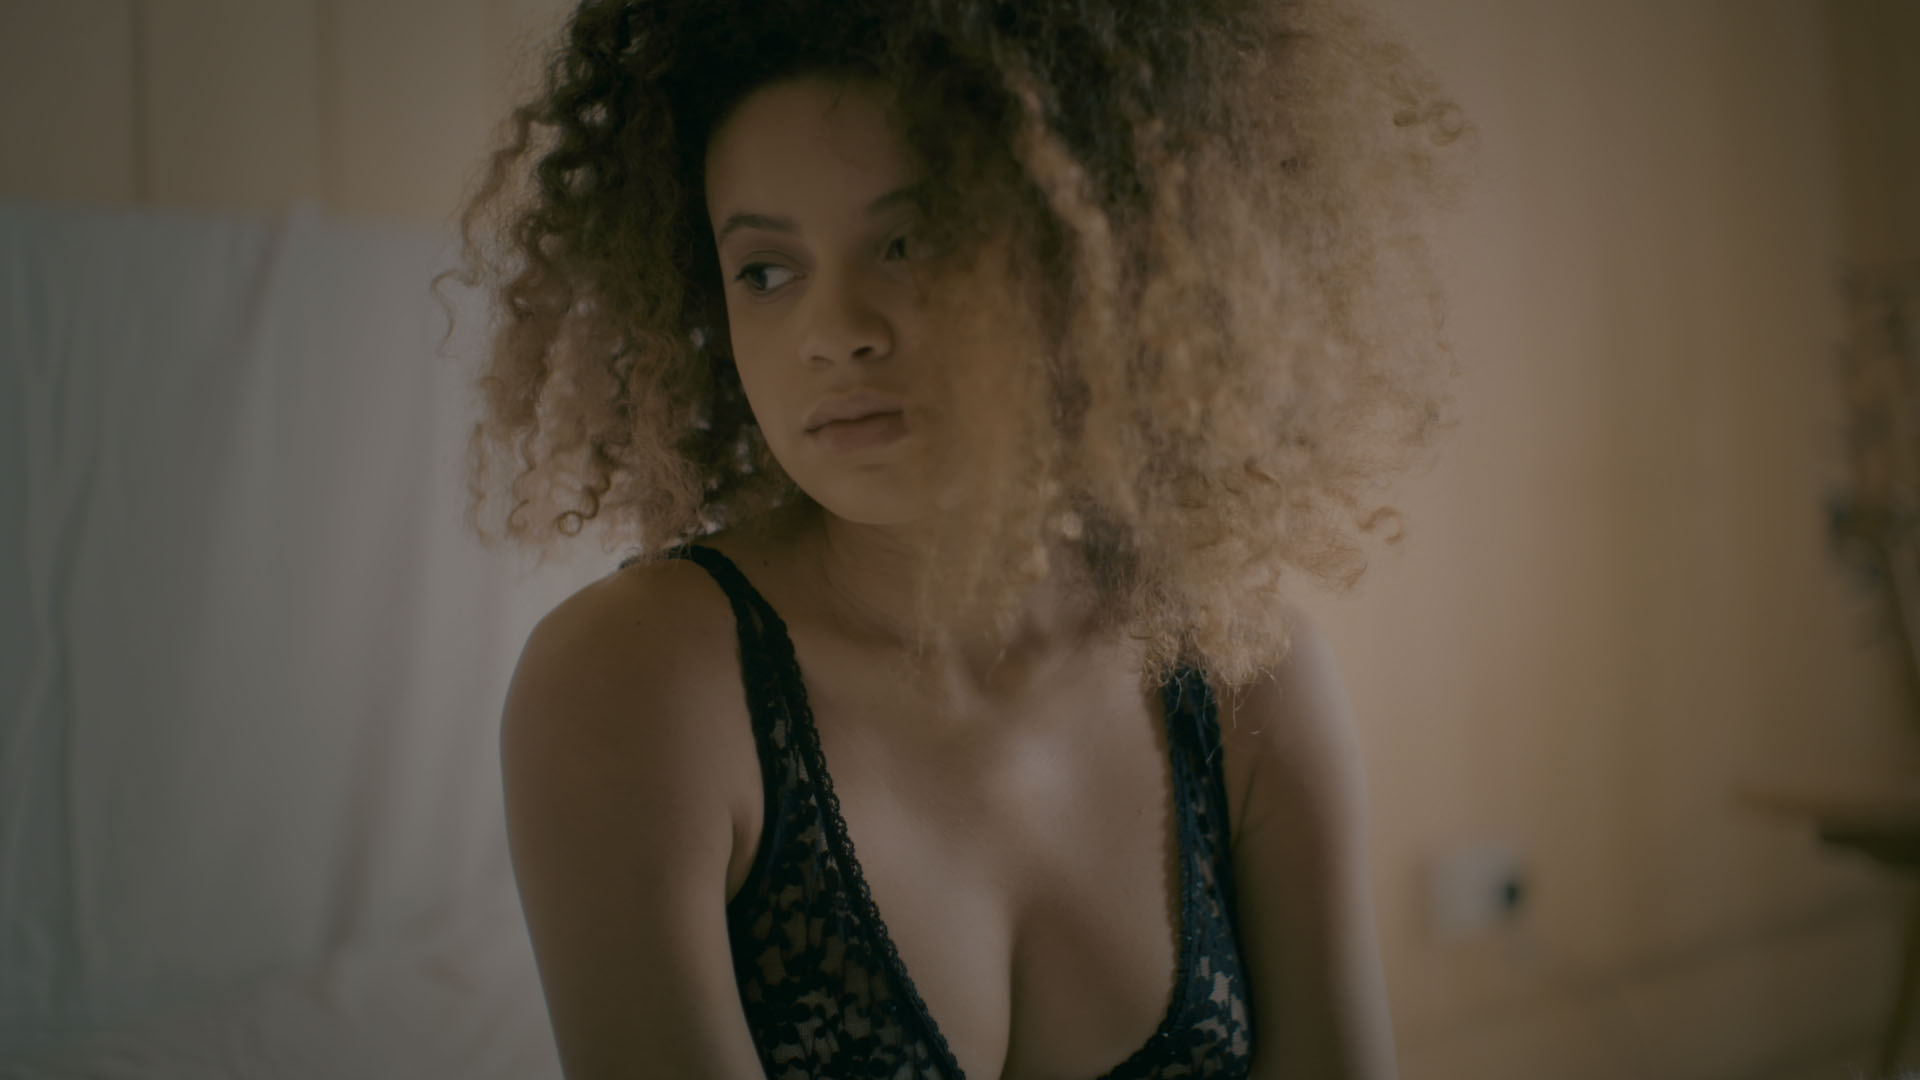
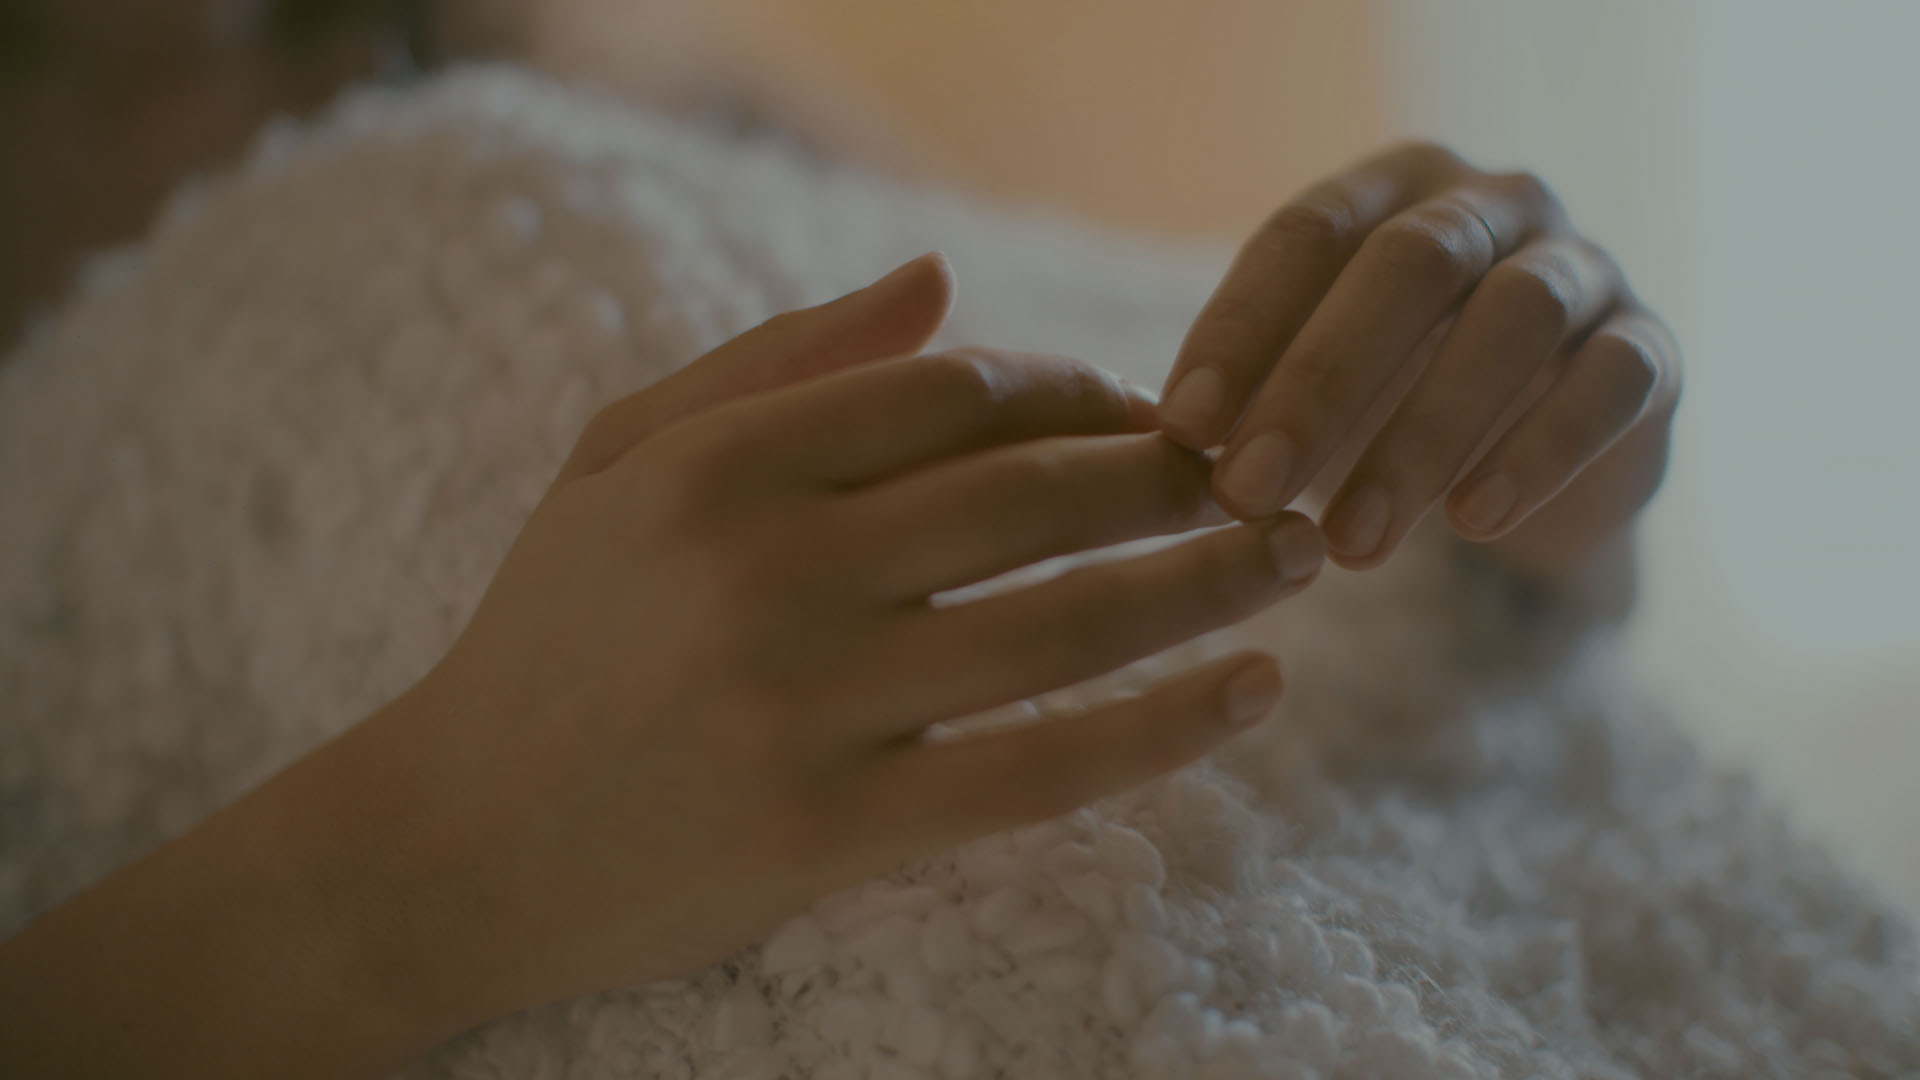
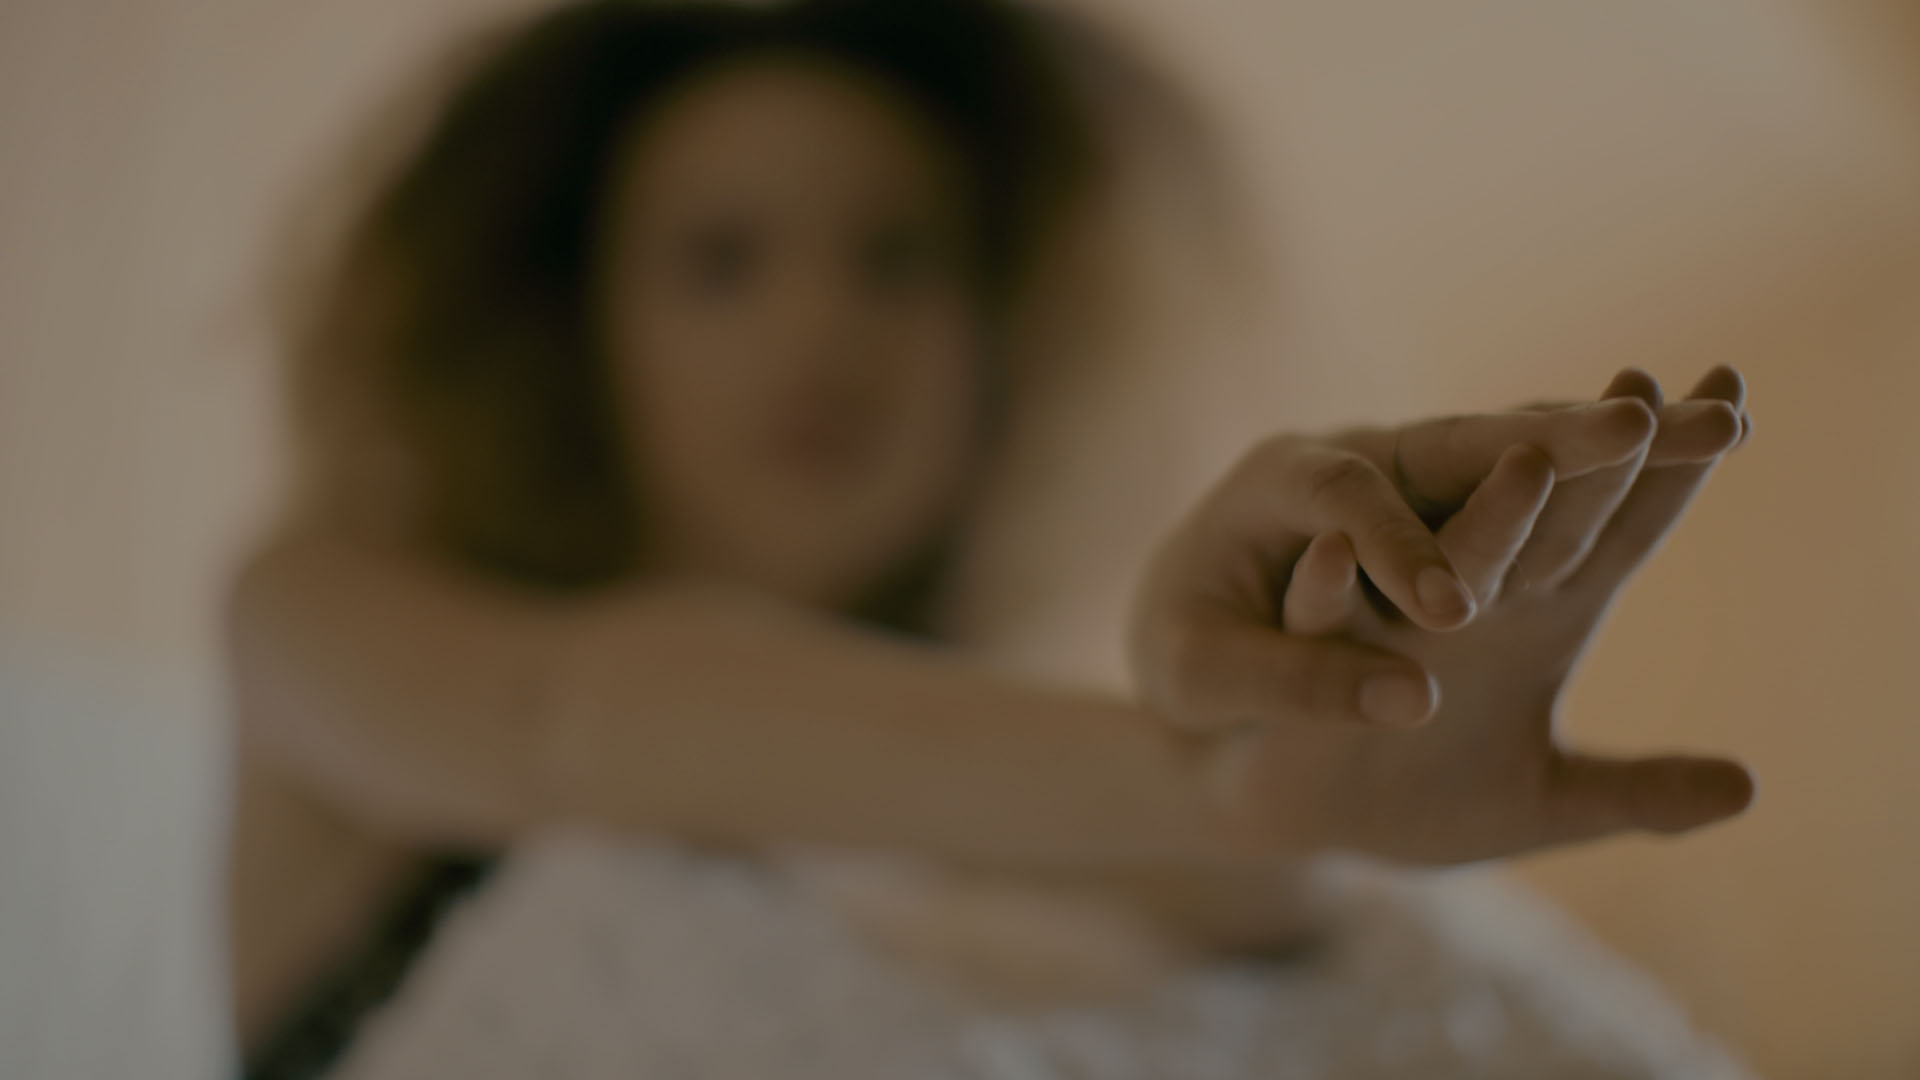
Some of the lighting did work, however. A setup that worked well and followed my lighting diagram to the letter was the bedroom scene where our actress goes through various stages of loneliness.
The aim was to fill the room with soft light motivated by the bedroom window and also the open bedroom door. I worked with production designer Oliver Harman to make sure I could shoot freely in three directions and planned this scene at a time of day when we’d have maximum daylight coming through the window on what was a day with light clouds and sunny spells.

My original lighting diagram.
We replaced the existing curtains with sheer drapes to diffuse the incoming daylight and brought in white bedding to help bounce and diffuse our light. To make sure we had some modelling on the actress, one wall was covered with a large black drape on c-stands. To augment the light coming in through the window a Celeb 200 was put on a stand next to the window. We diffused this with our 4x4 scrim. I shot these scenes with a very wide aperture, which was made possible by using the Sony FS7's built-in ND filters. The result was beautifully soft light that added a glow to our actress’ dark honey-coloured skin and hair, especially when the light came from behind her.


Day 02 - A secret weapon and available light
On the second full day, which happened a week later, I changed tac. We didn't have the lights from the rental company but I didn't feel we’d need them. I planned to mainly use available light and our secret weapon, the totally unassuming Rotolight Neo, which is the size of a breakfast plate. It's a circular bi-colour LED panel that comes with a set of filters that allowed us to use coloured light and adjustable effects that made it possible to shoot the strobe scenes.

When we shot with available light we used curtains, people and ND filters to control it. Practically everything we shot this way was used in the final video.
Night scenes
Our video contains quite a few night exterior scenes. This was a no-budget production so we had to make do with what we had available, which was essentially a Chinese lantern on a long extension cable when we were at our residential locations (party and roof terrace) and a Datavision 900 LED panel with a v-lock battery for everything else.
A lot of it was down to finding locations with enough street lighting. The Sony FS7 is great in low light situations and I used fast lenses, but when we needed a bit more light than was available, or needed fill from a particular direction, our portable, cordless LED panel saved the day.


The grade
A large part of creating the look of the video and bringing the best out of our lighting happened during the grade. Again a disclaimer: I'm not a colourist, just an enthusiast that has spent the last year or so learning how to get what he wants from DaVinci Resolve.

Ninety percent of our scenes were kept in the lower half of the waveform to fit the low key look we had in mind. Even if I didn’t manage to shoot it like that (a downside of having no budget and shooting with what’s available at a location on a tight schedule), I brought everything down in the grade. A film emulation LUT from Impulz (LPP Tetrachrome 400 with a Fujifilm 351 3DI final output), cool shadows and warm highlights, and 35 mm grain helped create a cinematic look. I shot for a 2.39:1 crop - a first, which offered some interesting framing opportunities and challenges, but I love how this also added to a filmic look.
I really enjoyed shooting this one. I learnt a lot and got to try a bunch of new things that I know now to either avoid or can apply to future projects.
Behind the scenes photos by David Gillett.